Power Apps - Creating a SharePoint list from an Excel file
 You can save time when you create a SharePoint list by importing an existing spreadsheet file. When you create a list from a spreadsheet, its headings become columns in the list, and the rest of the data is imported as list items. Importing a spreadsheet is also a way to create a list without the default Title column.
Important:
Use a 32-bit version of Internet Explorer 10 or 11 to import a spreadsheet. Importing a spreadsheet relies on ActiveX. Once the list is imported, you can then work with the list in any SharePoint supported browser.
Important:
If you get an error message stating that a valid spreadsheet you're importing isn't valid or contains no data, add the SharePoint site you're on to the trusted sites list on the Security tab in Internet Explorer Internet Options.
- On the site where you want to add a spreadsheet based list, go to Settings
 Office 365 Settings button and then click Add an app.
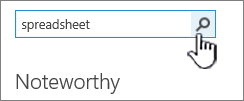
- In the Find an app field, type spreadsheet and then click the search icon Search box magnifying glass icon
 .
.
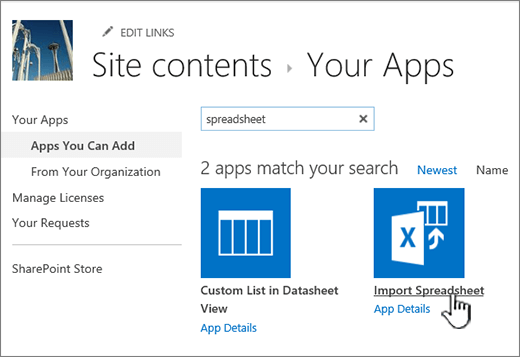
- In the search results page, click Import Spreadsheet.
- In the New app page, type a Name for the list.
The name appears at the top of the list in most views, becomes part of the web address for the list page, and appears in site navigation to help users find the list. You can change the name of a list, but the web address will remain the same.
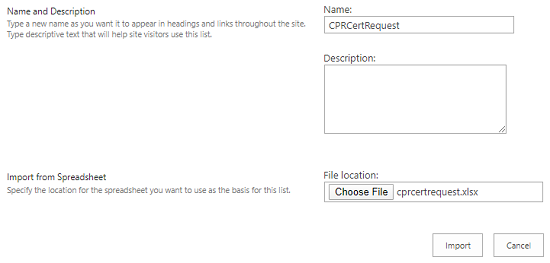
- Type an optional Description.
The description appears underneath the name in most views. You can change the description for a list at any time using list settings. - Browse to or type the File location of the spreadsheet. Click Import when done.
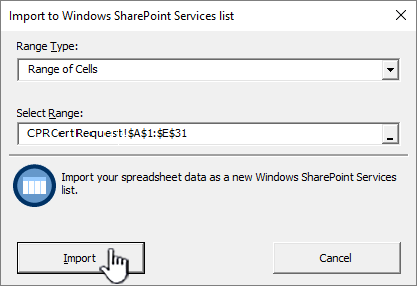
The spreadsheet will open in Excel, and you'll see the Import to Windows SharePoint Services List window. - In the Import to Windows SharePoint Services List window, choose Table Range, Range of Cells, or Named Range. If you want to select a range manually, choose Range of Cells, and then click Select Range. In the spreadsheet, click the upper left cell, hold down the Shift key, and select the lower right cell of the range you want.
- The range will appear in the Select Range field. Click Import.
After you import a spreadsheet, check the columns of the list to make sure that the data was imported as you expected. For example, you may want to specify that a column contains currency instead of a number. To view or change list settings, open the list, click the List tab or click Settings Office 365 Settings button, and then click List Settings.
- The spreadsheet data will appear in a list in SharePoint.
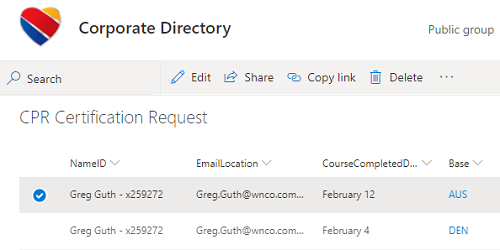
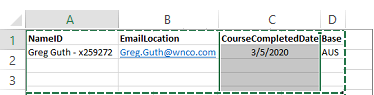
The types of columns that are created for a list are based on the kinds of data that are in the columns of the spreadsheet. For example, a column in the spreadsheet that contains dates will typically be a date column in the SharePoint list. The following image is the SharePoint list that was created by importing the spreadsheet in the previous image.
All versions of SharePoint let you import a spreadsheet of data, though how you do it varies slightly between the versions. Examples here use Excel, but another compatible spreadsheet would work. If your spreadsheet program's native file format isn't supported, export your data to a comma delimited format (.CSV) and import using that file.