Power Apps - Modifying Form Fields
 Show hide fields based on Yes/No column
Here we will discuss PowerApps show hide fields based on the Yes/No column. When the user selects Yes from the Yes/No field, then one more field will be visible else the field will be hidden.
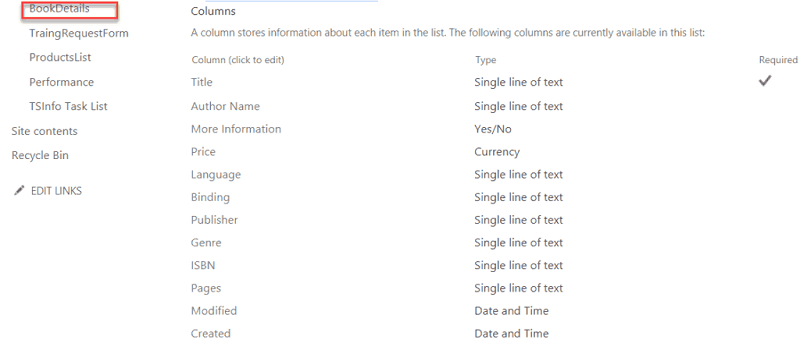
Create a SharePoint List called BookDetails. Create the following columns:
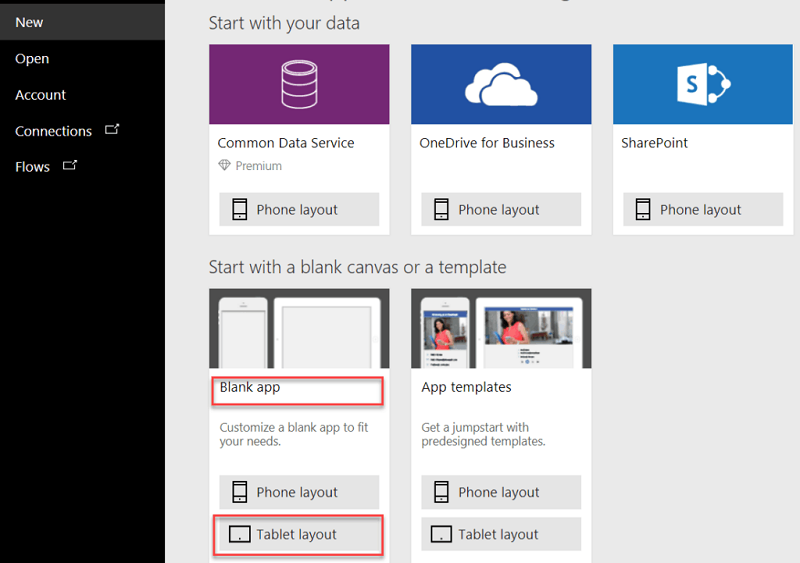
Create a new Application starting with a blank app and tablet layout. Call it "Books".
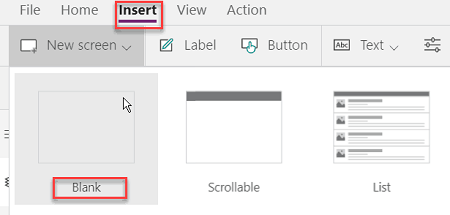
Now Add a Screen From Insert -> New screen -> Blank.
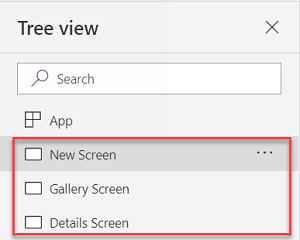
Add one More screen. Rename the Screen1(Default Screen), Screen2 and Screen3 as New Screen, Gallery Screen and Details Screen. To rename the screen just double click on its name.
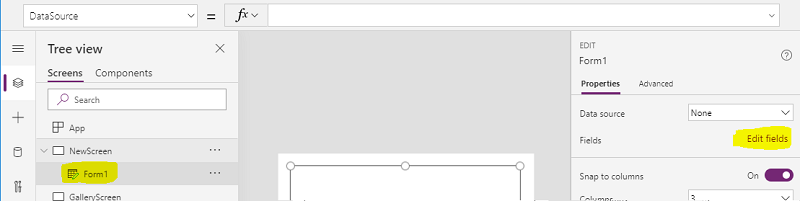
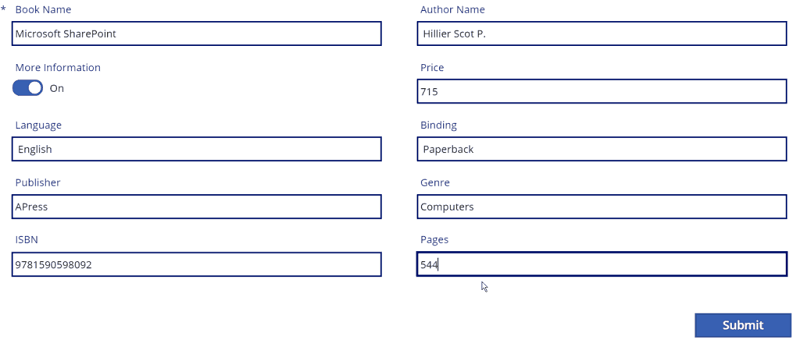
Select New Screen. Add Edit form control from Insert -> Forms -> Edit.

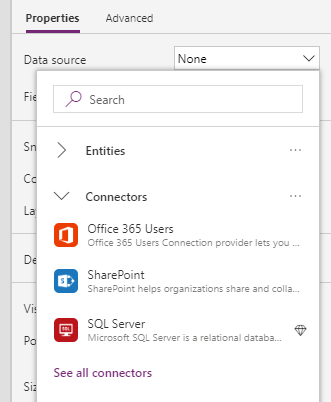
After successfully adding an Edit form to New Screen we can see Data Source under Properties on the form you just placed on New Screen. Click on the Data Source drop-down option. Now we need to connect to the BookDetails SharePoint list.
Expand the "Connectors section". This menu will shown you different data source options, select SharePoint.
Connect to a SharePoint site page will open where we can enter the site URL or choose from Recent sites.
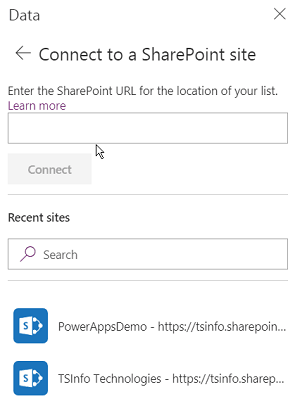
After entering the site URL or clicking on the SharePoint site shown, we will get all the List Names. Select on BookDetails. Click on Connect.
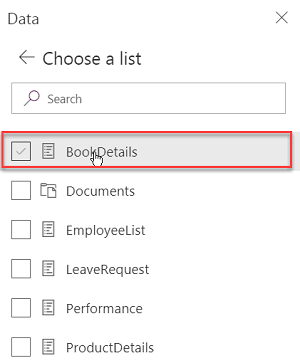
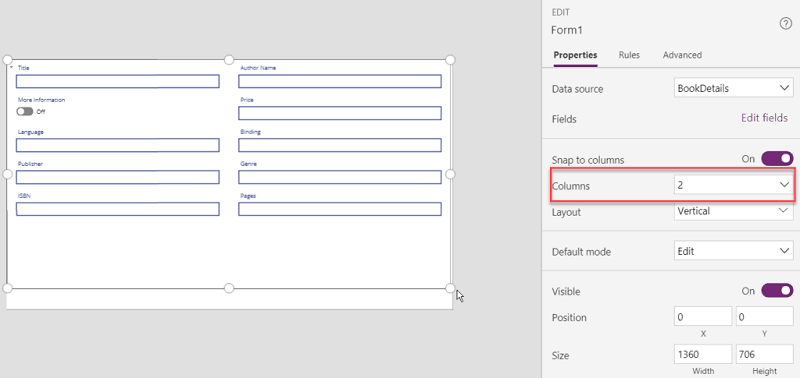
After connecting to the list the form control will display all the fields. From Columns, we can choose the number of columns. Select 2 so all the fields display nicely in 2 columns.
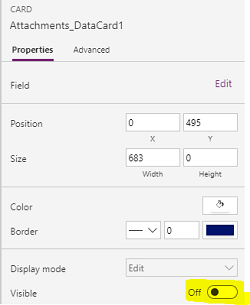
Hide the Attachments DataCard. Expand the form and select the Attachments_DataCard1 on the right properties, you will see visible, click that to off.
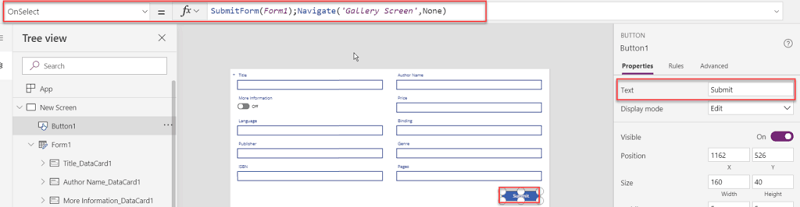
Add a button control from Insert->Button. Set its text property to Submit. Submit button Onselect write the below formula
SubmitForm(Form1);Navigate('Gallery Screen',None)The "SubmitForm()" is a method used to save the form data to the SharePoint list. We need to pass the form name inside the SubmitForm().
Navigate() method is used to navigate to a different screen. We need to pass the screen name inside the Navigate(). After the screen name, we need to pass the transaction type. Here I have mentioned None transaction type.
Note: This submit code works. It submits the form then redirects users to the Gallery Screen. This is not a good solution. The code will send users to the Gallery screen even if there are errors on the form such as required fields are not filled in. The best solution is to put just the submit code on the button and put the Navigate code onto the form on the onSuccess attribute.
Modify the Submit Button. Update Onselect with the below formula
SubmitForm(Form1)
Select Form1 then modify the OnSuccess of the Form. Update Onselect with the below formula.
Navigate('Gallery Screen',None)
This means users will now only be sent to the Gallery Screen if the form is filled out and submitted successfully.
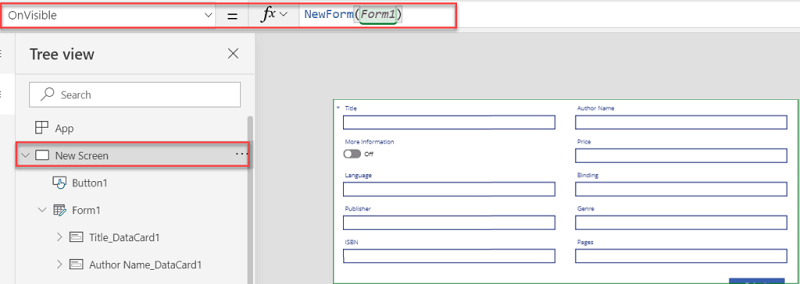
New Screen -> OnVisible -> NewForm(Form1). When we play the PowerApps form, the form control will behave as a newform because I have used the NewForm() function.
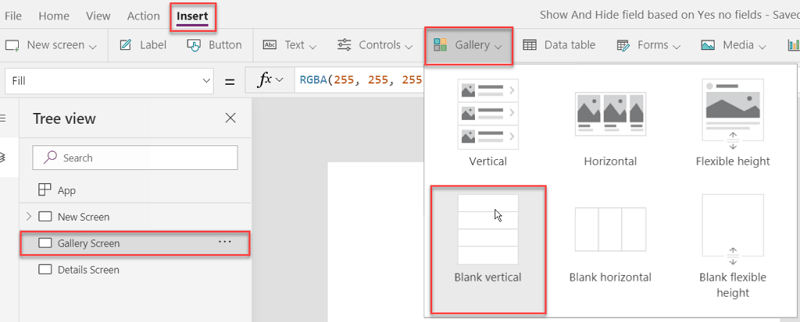
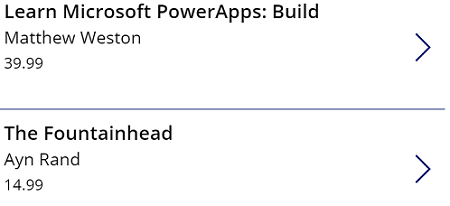
Select the Gallery Screen. Go to Insert->Gallery->Blank vertical.
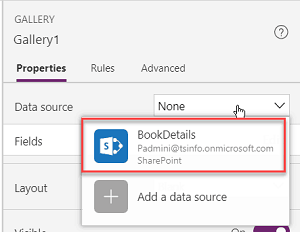
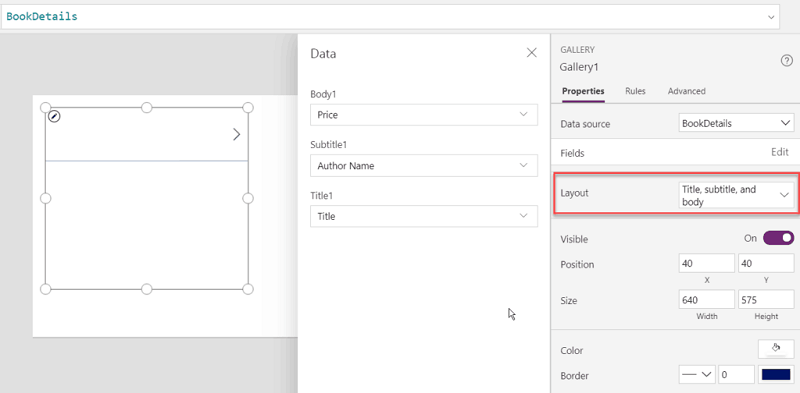
Connect the Gallery control to SharePoint Book Details List. We can give the connection from Properties->Data source.
Choose the Layout to Title, subtitle and body.
Select the Gallery Submit icon > and paste the following code onto the OnSelect state for that icon.
Select(Parent);Navigate('Details Screen',ScreenTransition.None,{SelectId:Gallery1.Selected.ID})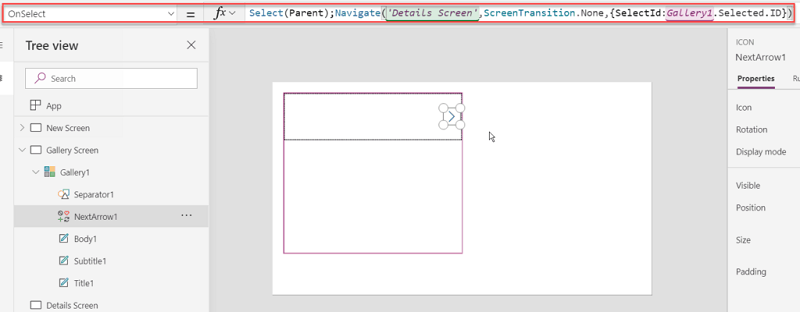
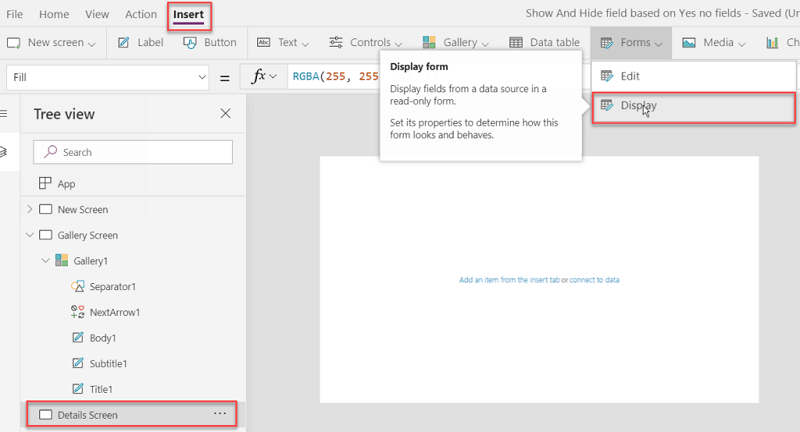
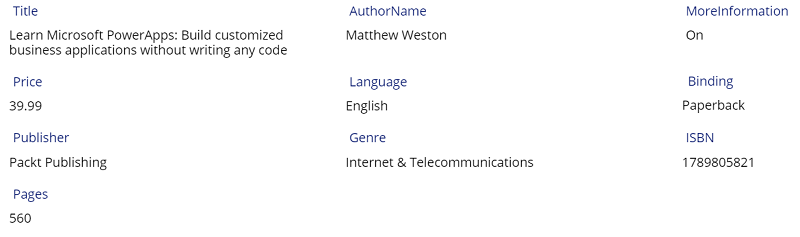
Select the Details Screen. Add the Display control from Insert->Forms->Display.
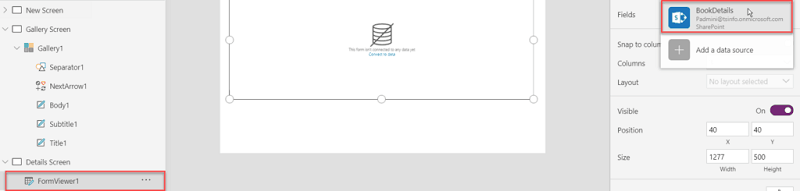
After adding the Display Control we will get the FormViewer1 under Details Screen. Connect to SharePoint BookDetails List.
Select on the FormViewer1. on its Item property write like below:
First(Filter(BookDetails,ID=SelectId))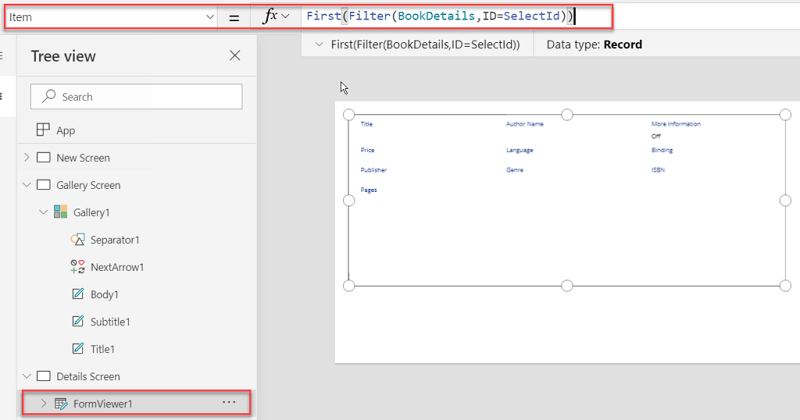 Scale the Form Viewer across the screen.
Go Back to the New Screen to hide fields
On the NewScreen, More Information is the Yes No field whose data card name is DataCardValue3. So we write the rule on the Price field visible property:
If(DataCardValue3.Value=true, true, false)
Write the same rule in all the fields which you want to hide when yes no column is disabled.
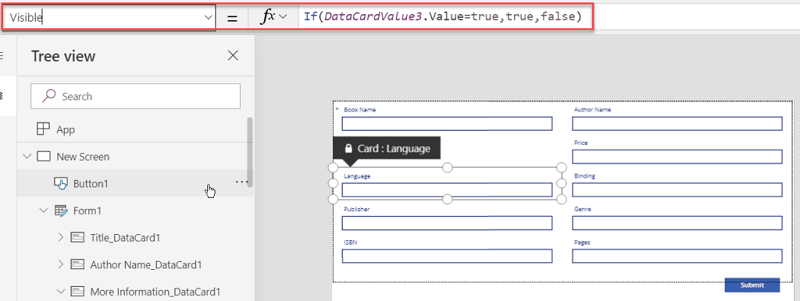
Write the same rule in the Language Field visible Property
Write the same rule in Binding, Publisher, Genre, ISBN, Page field visible properties.
Now we need to set the submit button position. When the yes no column is disabled the Submit button position will change. So in the X-axis of the Submit button Write:
If(DataCardValue3.Value=true,1177,1168)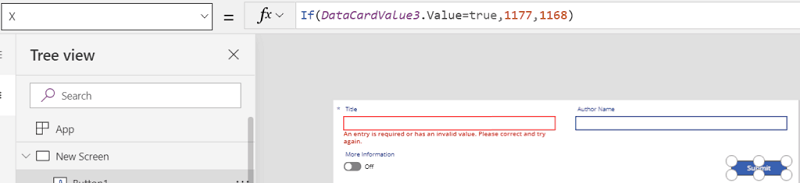
On the Submit button, Y-axis write:
If(DataCardValue3.Value=true,538,180)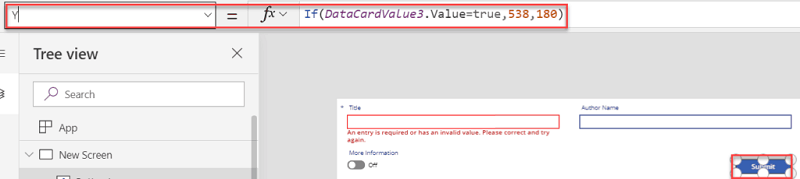
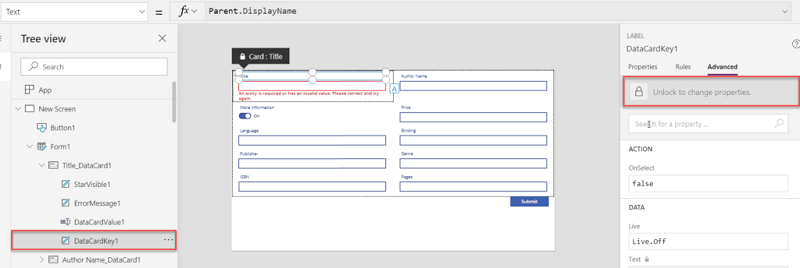
Now we need to change the NewForm Title column text property. So first we need to unlock the Title data card from Advanced-> Unlock.
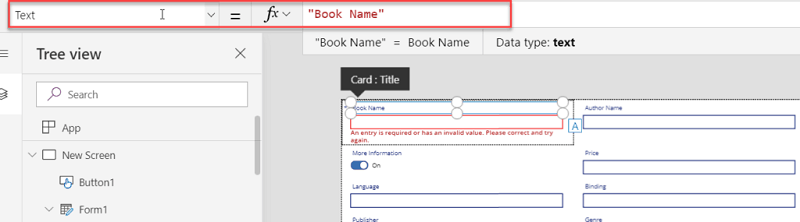
Select the "Title" and in its text property write Book Name.
Run the form and view the form.
Click the More Information control to Off you will see the selected fields hide.

The Submit button will navigate to the Gallery control screen. When we will click on the next Icon the details screen will open.
Below is the Details screen.
The application works but it is very clunky. After you submit an entry and go to the details page you are basically stuck there as there is no navigation out. Let's add some navigation buttons to this application to make it usable.
At the bottom of the DetailScreen add 3 buttons. Create New Entry and Back.

The Back button is easy, for the OnSelect code add "Back()". (Without the quotes)
For the Create New Entry button we simply send the user to the NewScreen screen, Insert "Navigate(NewScreen)" into the OnSelect
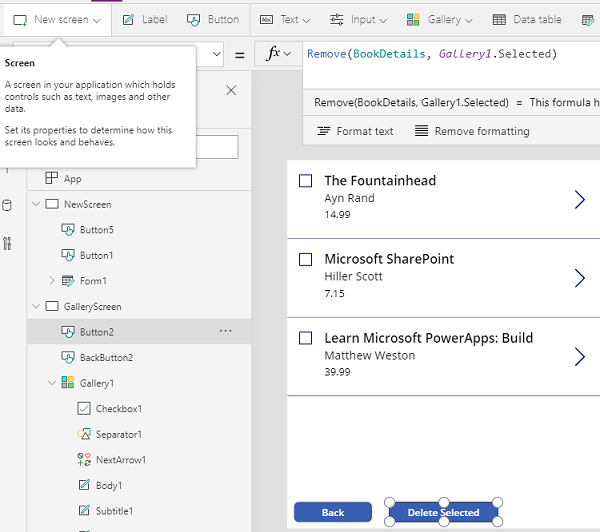
Add a Back button to the GalleryScreen as well just as you did above.
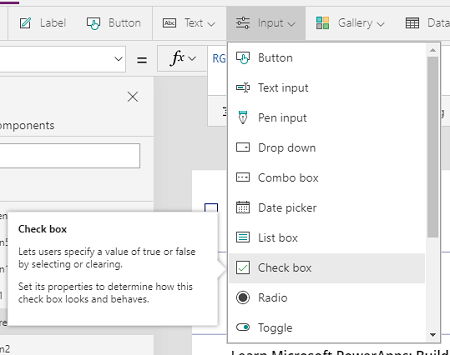
If you created an entry you don't like you may want to delete it. First you will need to select the item you want to delete. You will need to add a Check Box to the gallery. Under Input select the Check Box control.
If you add an entry and decide to remove it, let's add a Delete button to the GalleryScreen. Call it "Delete Selected". The OnSelect code for this button should read "Remove(BookDetails, Gallery1.Selected)"
Now you have a fully functional application that is easy to navigate around on.