Power Apps - Power Apps Media Control
 What Media Controls you will learn here:
In this PowerApps Media Control tutorial, you will learn how to use PowerApps media controls. We will discuss how to add PowerApps video controls and image controls. We will also learn the various properties available in PowerApps media controls.
- PowerApps image control
- PowerApps Camera Control
- PowerApps Video Control
- PowerApps Barcode Scanner
- PowerApps Add Picture Control
- PowerApps Audio Control
- PowerApps MicroPhone Control
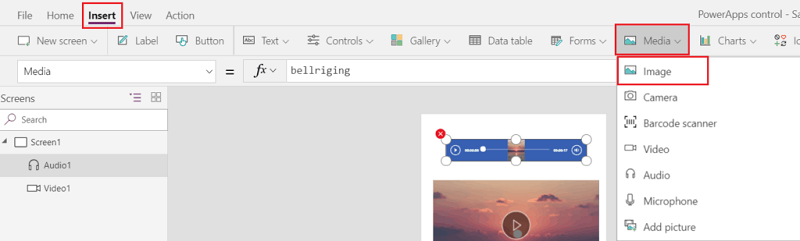
PowerApps image control
Image control is used to upload an Image to the PowerApps page from the local system and browser.
Go to Insert -> Media -> Image.
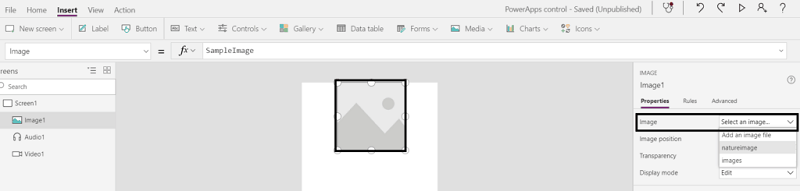
To upload the image, go to the Image property from the right panel. Click on select an Image.
It contains some of the Property below:
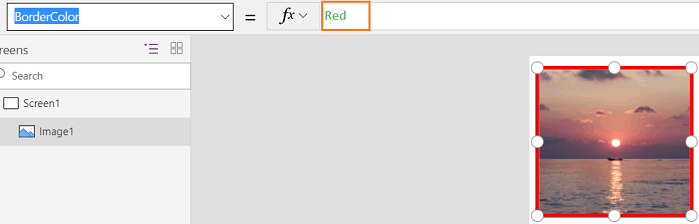
BorderColor: This property will set the Border color for the Image. Here you see the color set to red, our image border will now be a red color.
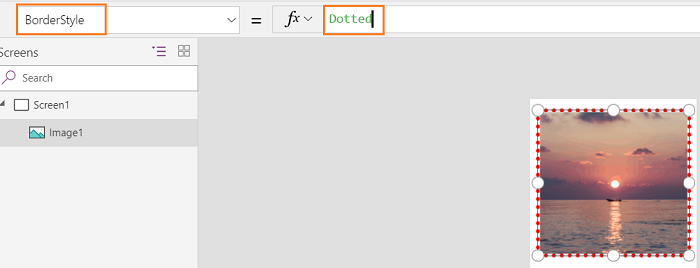
BorderStyle: This property will set the style of colorImage border. We can set the rule as solid, dotted, Dashed and none.
We can add the image from the browser, then select the Image Property from the property bar and add the image URL in the formula bar.

PowerApps Camera Control
Using the Camera control in PowerApps we can take a photo from our device. To add the camera control go to the Insert->Media->Camera.
OnSelect: This Onselect property is for how the app will respond when the user clicks on the camera control.
Set the property for camera control to Onselect. In the formula bar, add the formula Navigate(Screen2,None). That means when a user clicked on the camera control the screen2 is navigating.
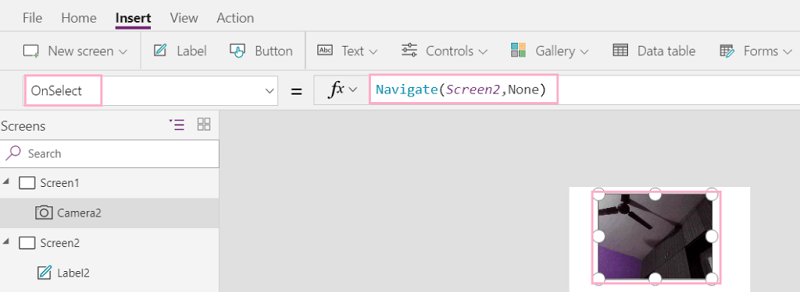
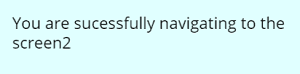
When you click on the camera control, note, screen2 page is navigating.
FocusedBorderColor: This property is for when the camera control is focused than the border color of camera control will change.
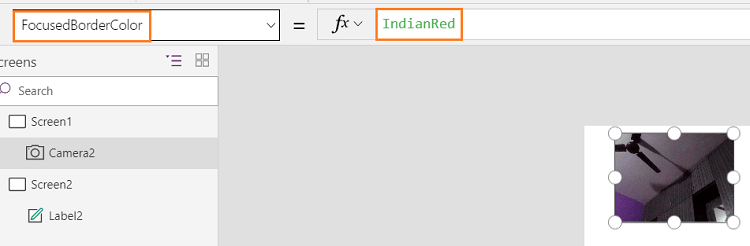
Now when the user clicked on the camera control in the Preview page(For the Preview page click on F5 or from the top bar we will get the Preview page), the border color will appear red.
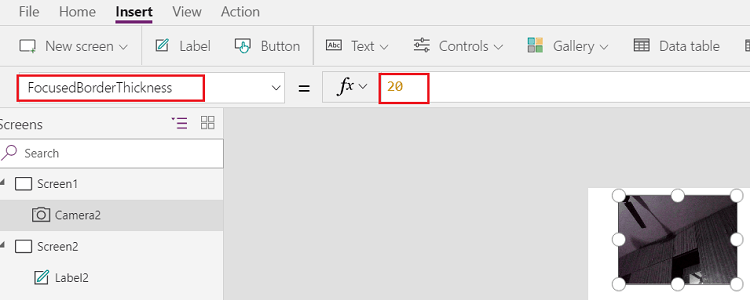
We can set the Thickness of the border for the camera control. For the border thickness select the "FocusedBorderThickness" from the property bar and set the value in the formula bar.
PowerApps Video Control
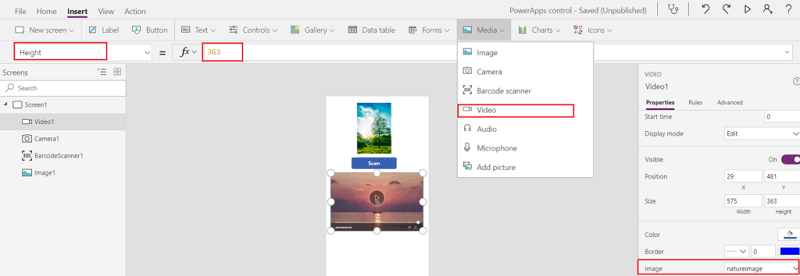
We can upload the video using the Video control. We can add the video control from Insert->Media->Video.
Using the height property we can set the height for the video.
We can add images using the image property.
We can set the border color for the video control using the BorderColor property.
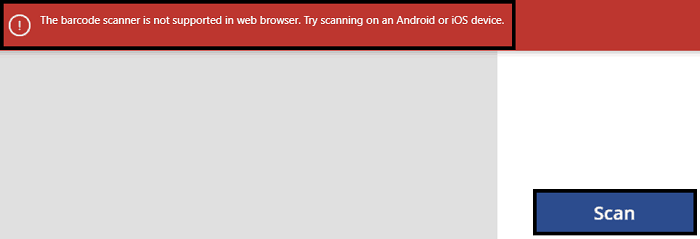
PowerApps Barcode Scanner Control
To add the Barcode Scanner control add from the Insert -> Media -> Barcode scanner.
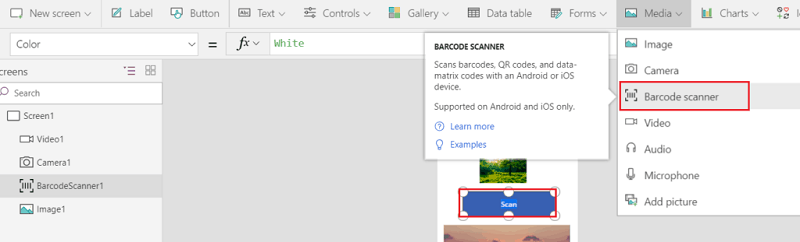
The barcode scanner may not be supported in web browsers, when opened on IOS or Android then the control will work.
PowerApps Add Picture Control
To add the Add Picture Control go to Insert -> Media -> Add Picture.
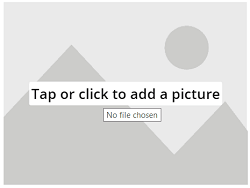
We can change the Text property of the Add Picture control. To change the text, select the Text property of the picture control and in the formula, bar add a message the user can see.
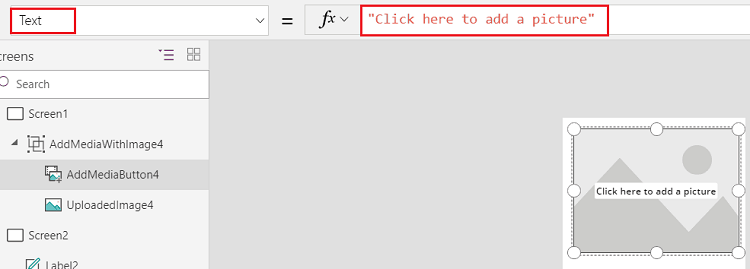
By clicking on the message users can upload pictures from their local system.
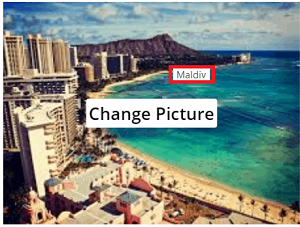
We can modify the Tooltip message for the picture. Her the property is Tooltip and write the message in the rule area.

In the Preview screen when the user mouse-overs the Picture then the tooltip message is displayed.
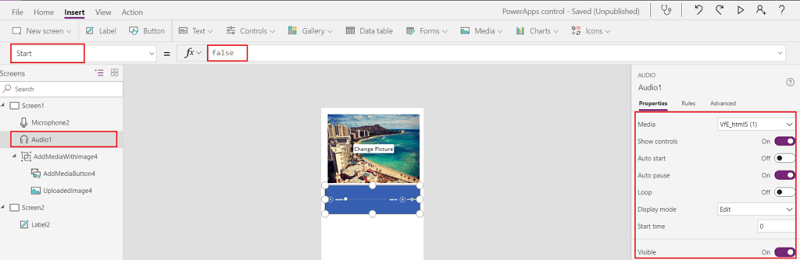
PowerApps Audio Control
Audio controls are used in PowerApps to upload an Audio control from the local file system to the PowerApps designer page.
We can add PowerApps Audio controls from the Insert->Media->Audio.
We can upload audio from the Media property which we can find on the left side panel.
When we disabled the Show control, then all the controls of audio control will hide.
The Autostart property will automaticaly start the Audio on load, without the user needing to click on the play button.
After the Audio completes the audio will stop because we enabled the "Auto pause". When we enable Loop then the Audio will play loopwise. When the Audio is finshed it will restart.
We can change the Display mode also. The Display mode has 3 options Edit, disabled, view. When the Edit is selected we can do the edit operation. But when it is disabled, the control is disabled. When the View is selected user can able to see the control only.
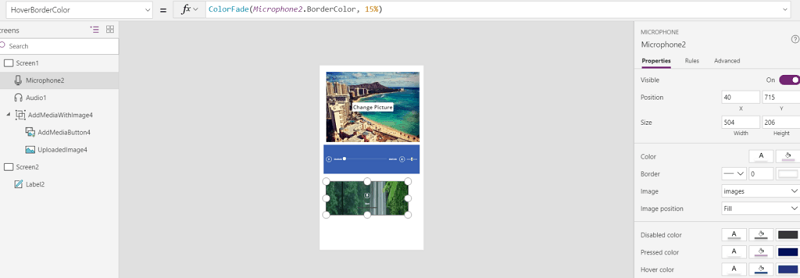
PowerApps MicroPhone Control
We can record audio using the PowerApps MicroPhone Control. To add the MicroPhone go Insert -> Media -> MicroPhone control.
In the Properties tab of the Microphone control on the left side panel. We can see the Visible property, when disabled the control will be hidden.
We can set the color from the Color property. We can select the image from the local file syetem from the Image property local system.