Power Apps - Send an Email on Submit Button
 Send an Email on Submit Button
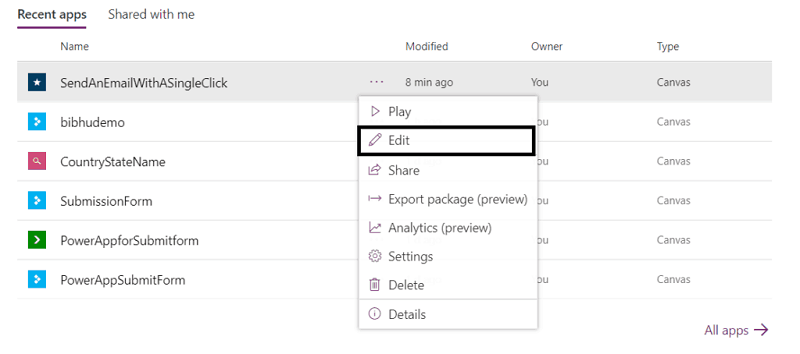
Go to Power Apps Home
Click on the elipses(...) for the app you want to send an Email from on submit.
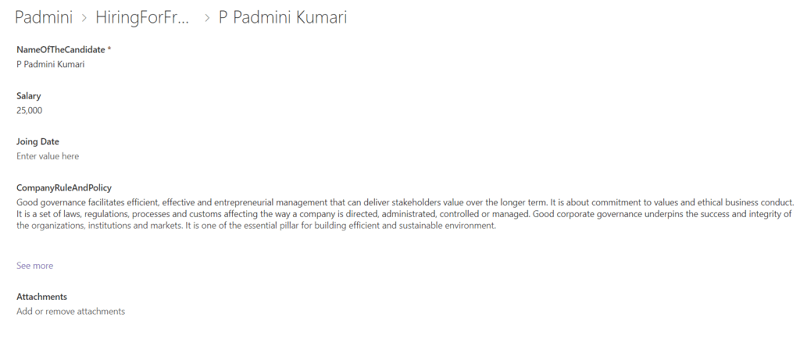
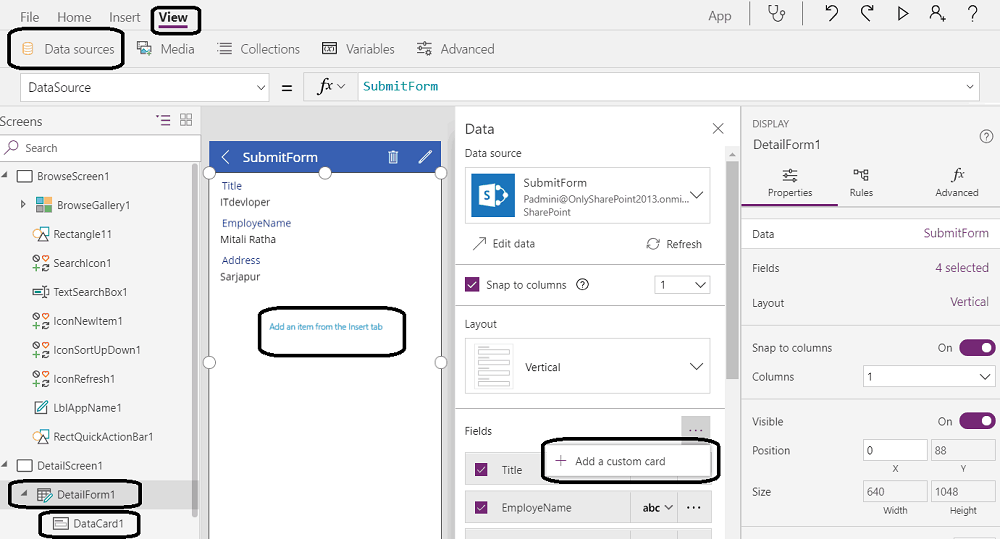
We want to send an Email on Submit. Open your selected application in PowerApps. Select the Datasource From View. Then select "Details Form1". In the Field tab, we can see Add a custom card. Now we can see in the form Add an item from Insert tab. In the left side below the Details Form1, we can see "DataCard1".
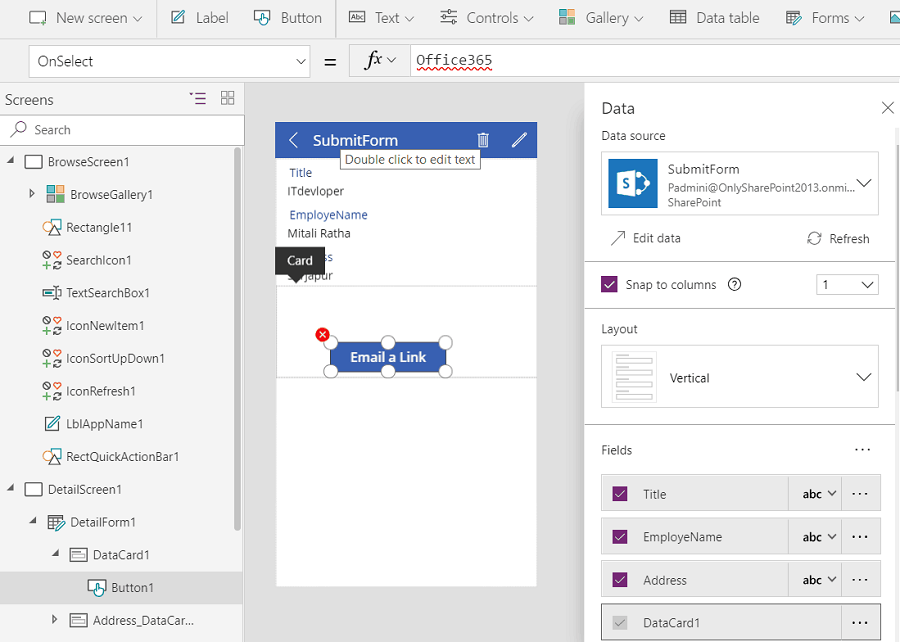
Add a button Click. Add a rule on Onselect. When a user Clicks on the Click event, a message will automatically be sent to the user. We want to use the Office 365 class. Because the office 365 class contains the Send Email function. So we have to Choose the Onselect from the drop-down. After adding the rule Office 365, we see the red squiggles under it because we did not complete the connection.
Add Power Apps button
Now we will see how to add Power Apps button. To Give the connections. Go to the file, then Connections.
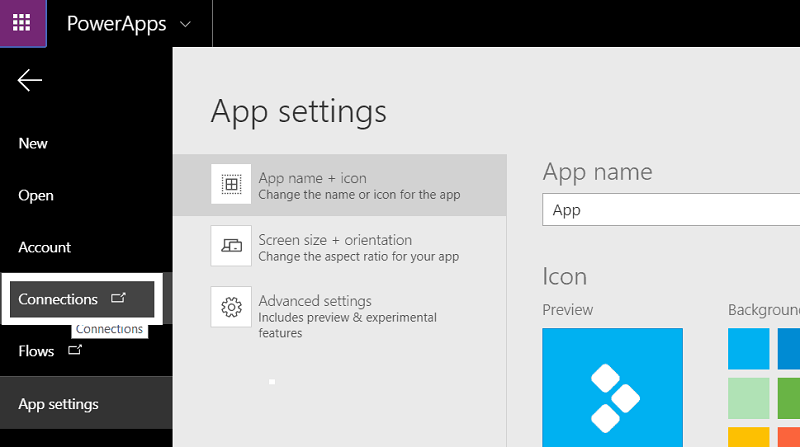
Power Apps add a connection to Office 365
Go for Create new connection if Office 365 Outlook is not there. Create a new Connection and add Office 365 outlook and Go to Create.
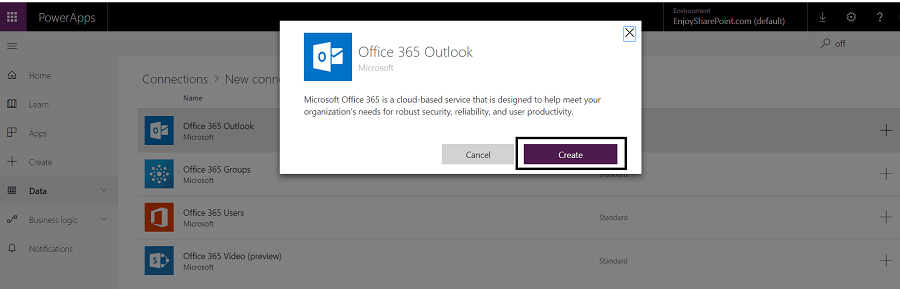
Create a Connection in Power Apps
A pop-up window will come to ask for Pick an account. After selecting an account you will go to the designer page.
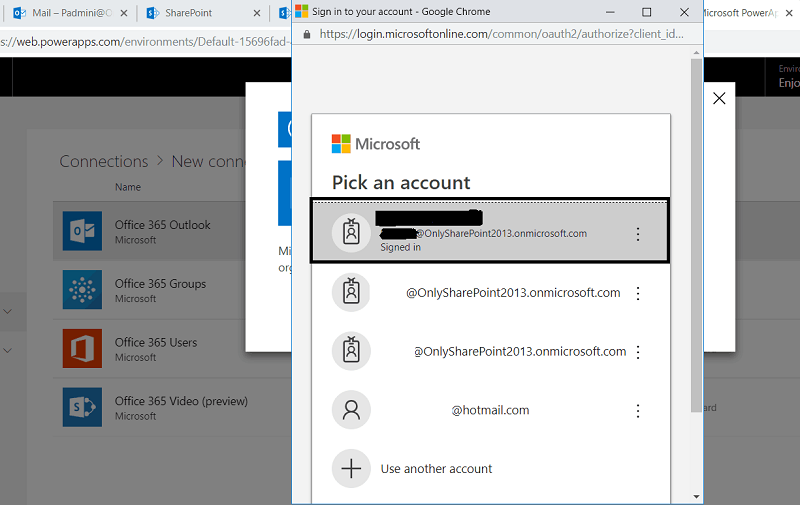
In the designer, the page goes to View then DataSource. We can see our Outlook account If the account is not there go to New Connection and Add the New connection. Go to Button Click.

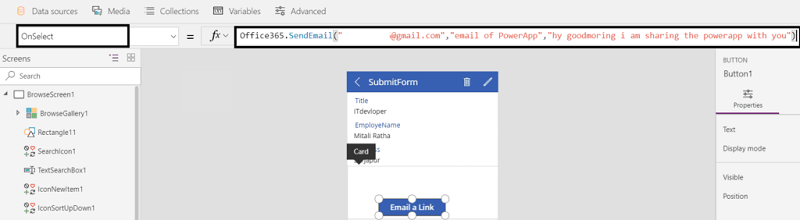
On the Fx when we use the office365 class we can see "Office365.CalenderDeleteItem", "Office.ContactDeleteItem" etc. Now we can use the office365 class and we can use the send email function. Write Office365.Sendmail.
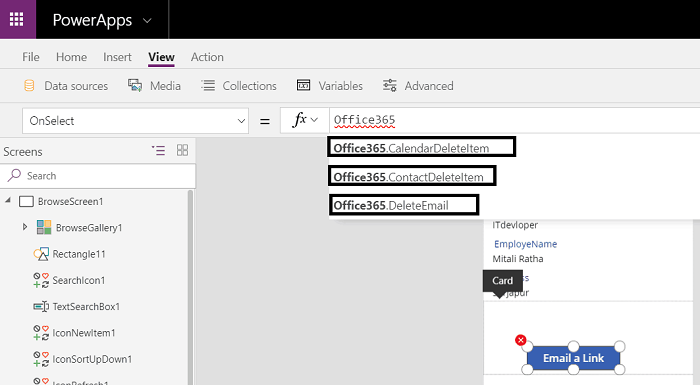
Now use the rule here Office365.SendEmail("Email Id","Subject","Body"). In the SendEmail function, we can use EmailId, Subject and body parameter.
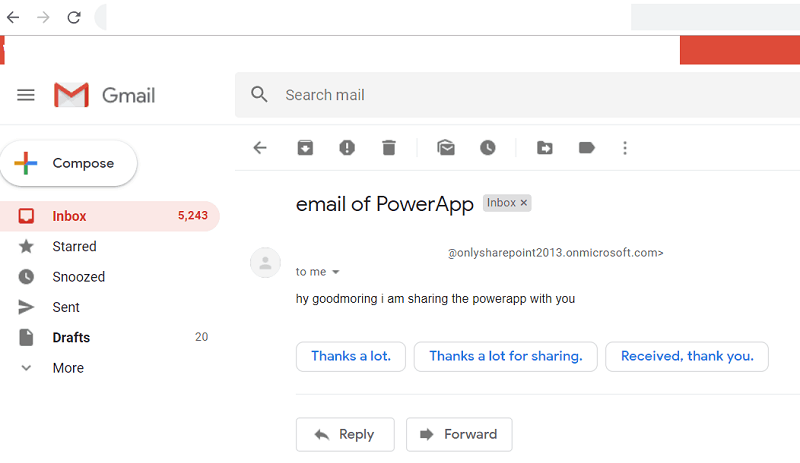
When we open Gmail we can see the message which was sent using PowerApps.
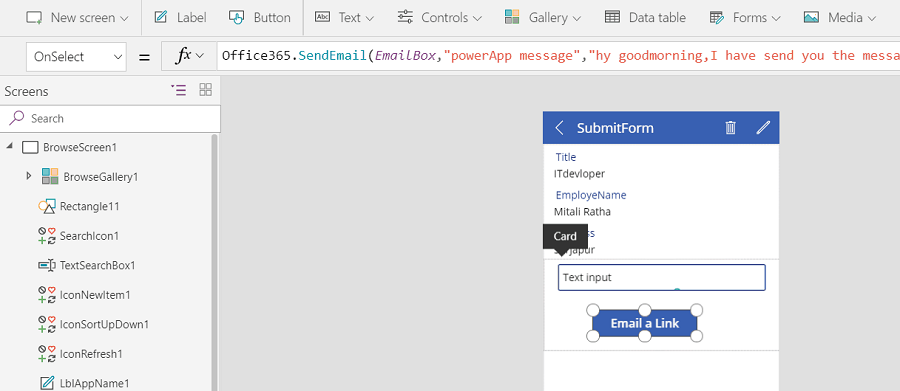
We want to Add a text box for the Gmail address when the user clicks on the button the message will send to the user. In the button click on select previously we are giving the EmailAddress directly now we have added the text box name. We changed the text box name as "EmailBox". In the left side navigation, we can see the "EmailBox" below.
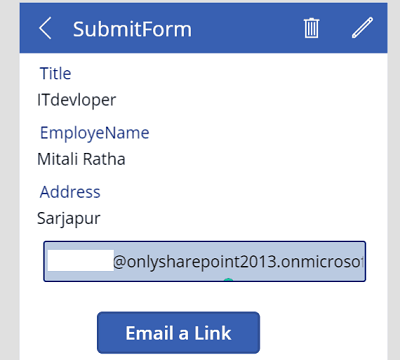
Opened the Preview of the PowerApps form and I add the email ID on the text box and click on the button. When we open our account we can see the Email.
PowerApps sends email cc subject body dynamically and sets importance
Here I will discuss when a user enters the Email, Subject, and body in the TextInput box and Click on the Send Icon the message will send automatically to mentioned email Id.
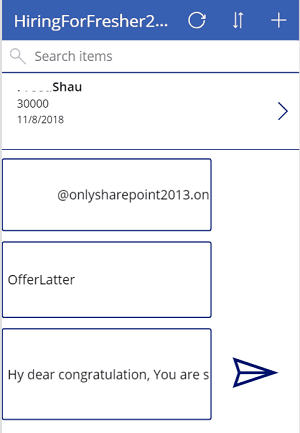
For the above form, we have added three input controls and renamed the controls to Email, Subject, and Body. We added a Send Icon to the Insert Icon. We have added the rule on the Icons Onclick.
Office365.SendEmail(Email,Subject,Body). Go to the preview button and add the Email ID, Subject, and Body and click on Send icons, We can see our message will send to the email. We can see mail is sent but in low importance. Next we will learn how to set importance.
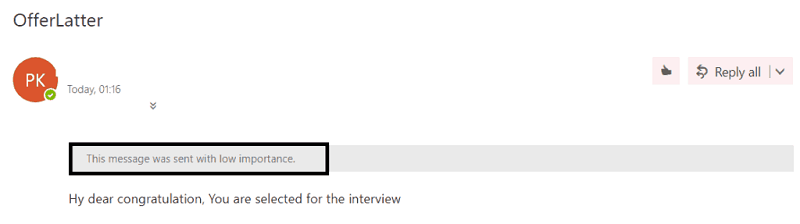
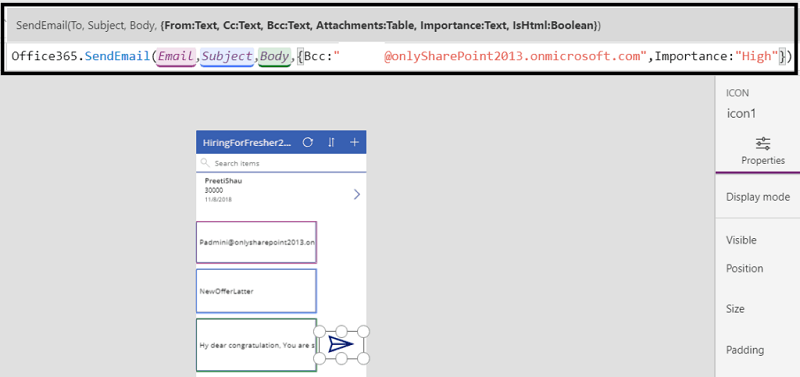
We want to change the Importance to High So when we use the SendEmail function we can see that parameter. I can set the Bcc also. Here we have set the importance to High. When we open the mail we can see the Email with High importance.
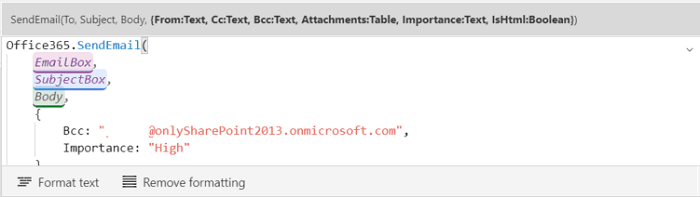
Finally, in the rule box we can see Formatted text and Remove the formatting. If we click on formatting our rule will come in a format otherwise we will see all rules in a single line.
Send a Link in Email using Power Apps
Here we will learn how to send a link in Email using PowerApps.
We are Opening the PowerApps and have added a custom card. I have added one Send icon. In the send icon, I have added the rule:
Office365.SendEmail("@onlysharepoint2013.onmicrosoft.com","My items Link","Below is my link:"&ThisItem.'{Link}")
In the Send item function we have passsed some parameters "emailid","Subject","body" and &ThisItem.'{Link}". When we open our mail we can see the Link.
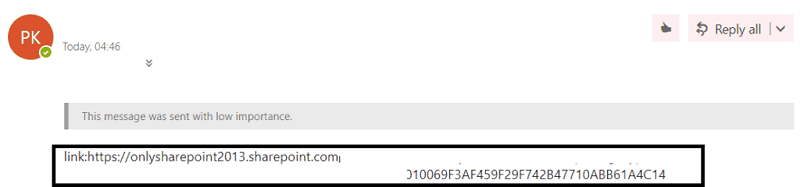
When I have in the link I can able to see the item details.